The Inspections tool extends the system’s capabilities by allowing the configuration of cyclical inspections for any objects, for example:
- a five-year building inspection
- an annual hydrant inspection
- and many others
The tool does not require extensive configuration. Let’s set it up on the Detector layer.
- Add a field to the Detector layer where you will enter the inspection interval for each device (by default, this can be 365 days).
- Create a non-spatial layer called „Detector – Inspection Card.” Two mandatory attributes are required here: inspection_date (data type: date) and object ID (data type: integer).
- Go to Modules -> Inspections Module and complete the configuration.
- Layer – select the layer that will have the inspections widget
- Check Interval – select the field that specifies the inspection interval
- Upcoming Reminder (optional) – optionally, select the field with the number of days before the inspection when a warning should start appearing.
- Non-Spatial Layer: this is our inspection card containing the relevant information.
- Relational Attribute – here, select the attribute ID_obiektu created in step 2.
- Inspection Date Attribute: this is the attribute in the Inspection Card where the inspection date will be recorded.
- Save
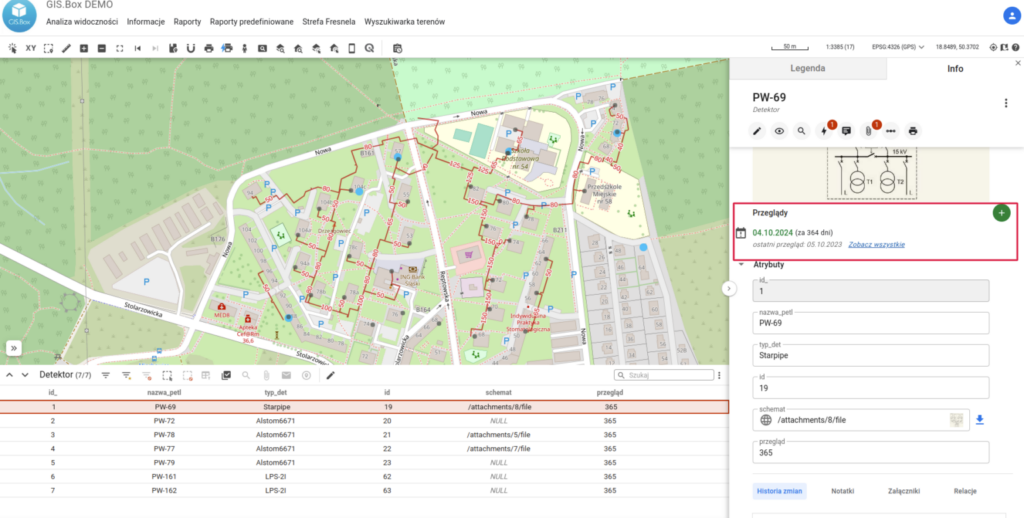
How it looks in the Map Panel?
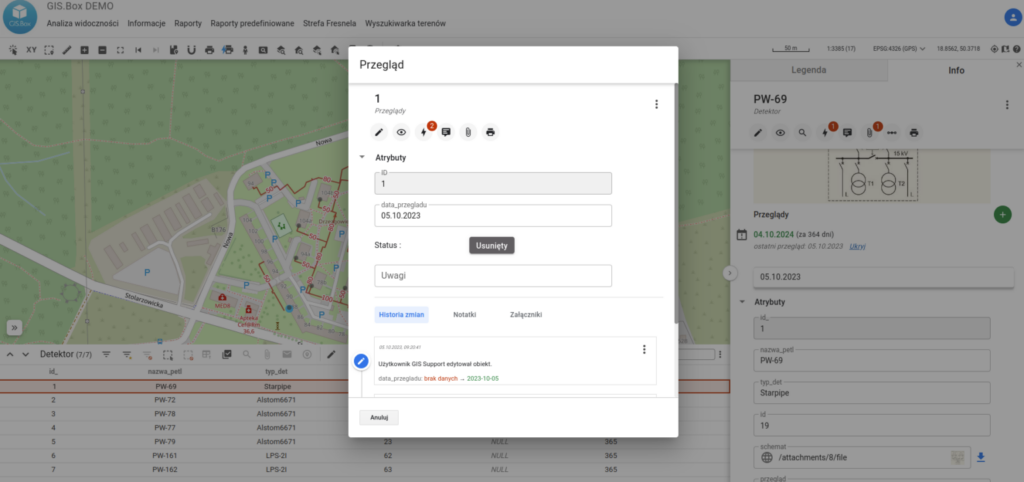
In the Object Card of each object in the „Detector” layer, an inspections widget appears, allowing you to add a new inspection and review previous ones.