Our GIS system is not only about displaying data in the Map Panel and the Object Card, but also about the ability to export data to a file, e.g. CSV.
If you need to export data about objects from a layer (e.g. information about water meters) displayed in the Attribute Table, open the attribute table for the selected layer, then use the „three dots” menu and select the option „Download data as CSV”.
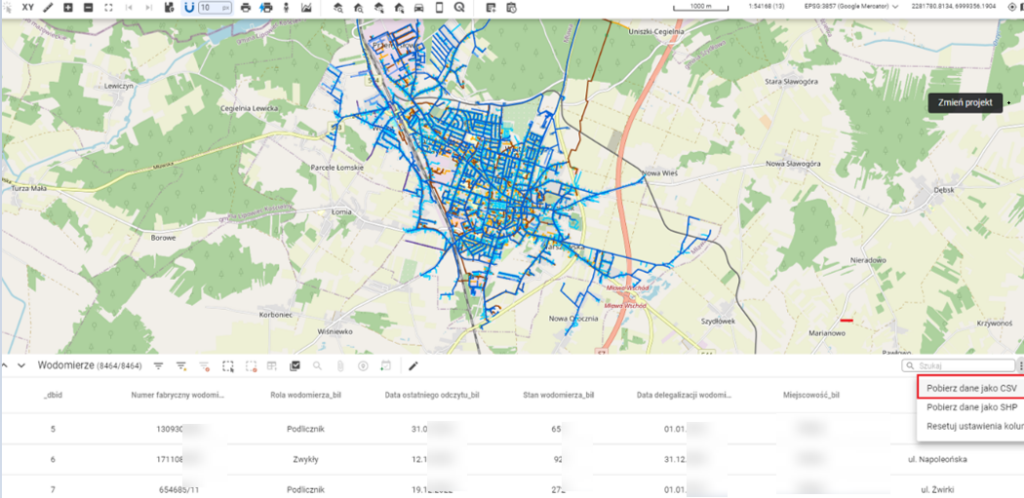
After using this tool, a file containing all the attributes of the selected layer will be saved on your computer’s disk.
It should be noted, however, that a CSV file is not the same as an XLSX file. To ensure that the content displays correctly in spreadsheet applications as in the original data, it must be properly imported and organized in applications like Excel:
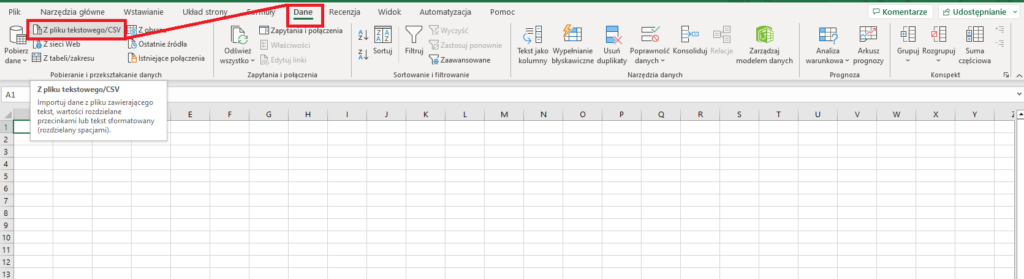
1. Open Excel, go to the Data tab in the top menu, and then click the From Text/CSV button.
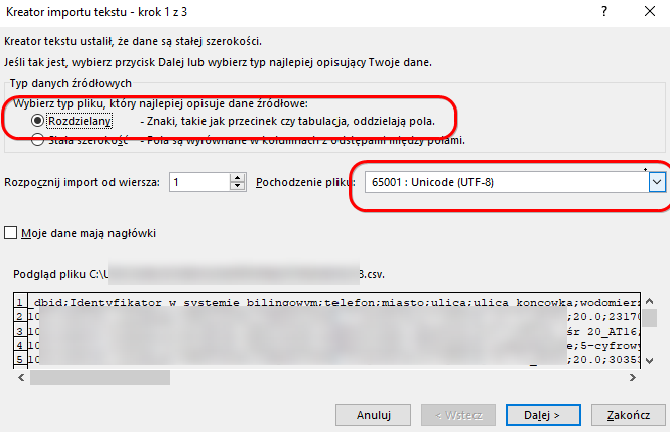
2. A window will appear where you need to select the downloaded CSV file and click the Import button. Then A Text Import Wizard dialog will appear, where in the Data Type section you should select Delimited – characters such as commas or tabs separate the fields; and in File Origin select Unicode (UTF-8) – this preserves Polish characters -> then click Next.
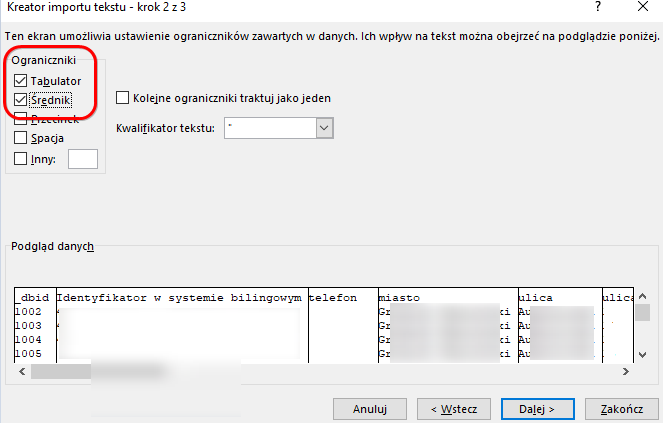
3. In the next step, indicate which character in the CSV file separates the data columns. By changing the character in the Delimiters field, you can see in the preview how the data is displayed – whether it is split into columns or combined into a single column.
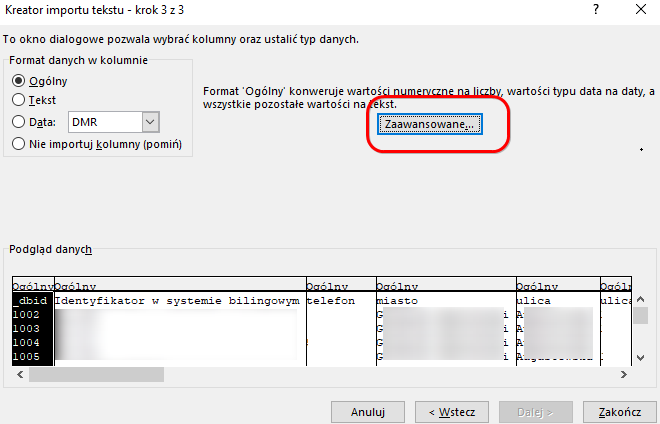
4. Po wciśnięciu przycisku Dalej wyświetli się trzecie okno dialogowe, które posłuży do prawidłowego ustawienia formatu danych. W tym oknie należy wybrać przycisk Zaawansowane i wskazać Separator dziesiętny (z reguły wybieramy znak „.” (kropka)).
It is important to select not the characters you want to use, but the characters that are currently used in the CSV file data.
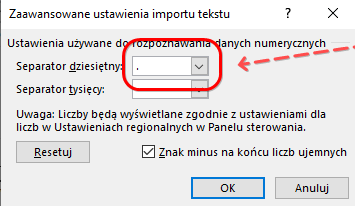
5. After selecting the appropriate separator, click OK. This will ensure the file is correctly formatted and the data is displayed properly.